April 16, 2026 • Declan Marsh • 9 min reading time • Prices verified June 11, 2026
Lens Filters: Which One to Buy First and Which Ones Are a Waste of Money
A lens filter is a piece of glass (or resin) that screws or slots onto the front of your lens and changes what light reaches your camera’s sensor. That’s the whole mechanism — deceptively simple, and exactly why the filter category is so cluttered with products that sound essential but aren’t. If you’ve ever stared at a filter display at your local camera shop and wondered whether you need a UV filter, a CPL, a 3-stop ND, a 6-stop ND, a variable ND, or a filter system that costs more than your lens, this article is for you. We’re going to cut through the noise, name the one filter worth buying first, explain why a second filter class matters for specific shooters, and be honest about which filters you can safely skip — or at least defer until you have a specific creative problem they solve.
The Filter Worth Buying First: The Circular Polarizer (CPL)
A circular polarizing filter — universally abbreviated CPL — is the only filter that does something your camera’s software genuinely cannot replicate in post-processing. That’s a strong claim, so here’s the reasoning.
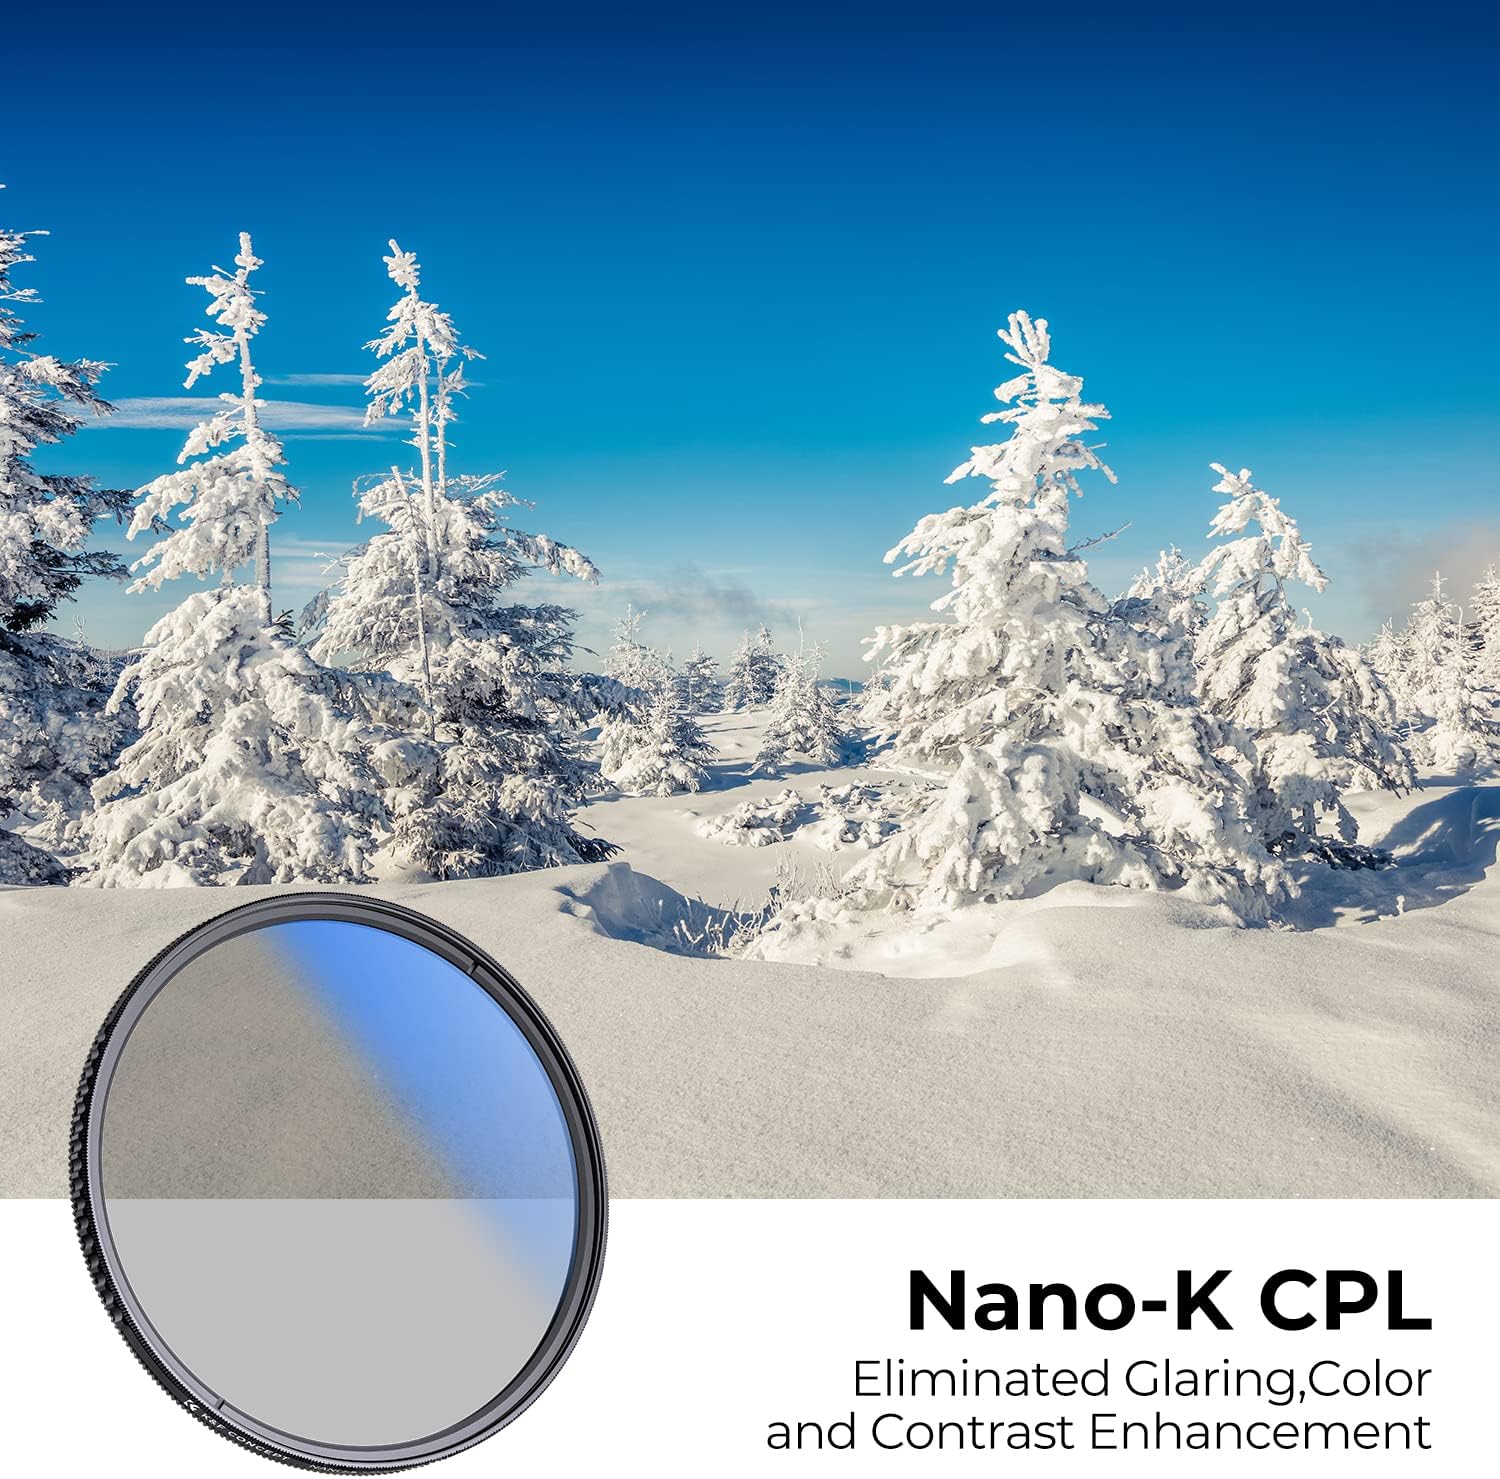
A CPL works by blocking light that is oscillating in a specific direction — technically, it filters polarized light, which is the light that bounces off non-metallic surfaces like water, glass, foliage, and sky haze. When you rotate the front ring of a CPL and watch the effect in your viewfinder or on your EVF, you’ll see reflections on a pond disappear, a washed-out blue sky deepen to cobalt, and the waxy sheen on leaves resolve into saturated green. That effect happens in real optical physics before the light hits your sensor. No amount of Lightroom work recreates it faithfully, because the data was never captured.
Photography Life’s explanation of filter physics puts it clearly: polarized reflections are permanently subtracted from the exposure the moment you dial them out with the CPL ring. Contrast that with, say, boosting saturation in post — you’re amplifying data that was already compressed. The CPL is operating upstream of compression.
What a CPL costs: Expect to pay $60–$120 for a competent mid-tier CPL (B+W MRC Nano, Hoya HD series) in common 67mm or 77mm thread sizes. Budget around $150–$220 for the filters that reviewers at The Phoblographer and Outdoor Photographer consistently call optically neutral — meaning they won’t introduce color casts or measurable sharpness loss at your aperture. The sub-$30 no-name CPLs on third-party marketplaces get consistently panned in aggregated owner reviews for color shifts and delamination within a year of regular use. This is one category where the mid-tier floor is real.
Trade-off to name explicitly: A CPL costs you roughly 1.5–2 stops of light because of how polarization works. In bright outdoor shooting, that’s irrelevant. In mixed interior/exterior or late golden-hour shooting, it can push you into shutter speeds or ISO values you don’t want. The solution is to remove it when you don’t need it — but that means knowing when you need it, which takes about one afternoon’s worth of practice rotating the ring and watching the effect.
If X, then CPL: If you shoot landscapes, seascapes, architecture with glass facades, outdoor portraits in sun-dappled settings, or any situation where water or reflective surfaces appear — buy a CPL before anything else.
The Case For (and Against) the UV Filter
A UV filter is a nearly clear piece of glass that screws onto your lens with no visible effect on the image in most shooting conditions. Its original purpose was to block ultraviolet light that older film stocks were sensitive to. Modern digital sensors are not sensitive to UV in any meaningful way, so the optical argument for a UV filter evaporated around the time film did.
What UV filters are actually sold as today is lens protection — a sacrificial piece of glass sitting in front of your $800 prime, theoretically absorbing scratches, sand, salt spray, and the occasional accidental drop. That’s a legitimate use case, and it’s why the UV filter debate has run for over a decade across forums and editorial sites alike.
Petapixel’s analysis of the “do you need a UV filter” question lands where most careful reviewers land: a cheap UV filter can introduce flare artifacts, micro-contrast degradation, and ghosting that a bare lens wouldn’t produce. A high-quality multi-coated UV filter from a reputable brand (Hoya HD, B+W XS-Pro, Urth) introduces negligibly little optical penalty — but costs $60–$90, at which point you’re paying meaningful money for what is effectively insurance.
The honest math: a quality UV filter on a $1,500 lens is a $70–$90 hedge. If you work in genuinely harsh environments — beach shooting, construction site photography, photojournalism in crowds — that hedge has a rational expected value. If you shoot mostly indoors or in controlled settings, the UV filter is solving a problem you’re unlikely to encounter. The Lensrentals team has published data over the years showing that most returned lenses with front-element damage arrived without filters — but they’ve also noted that a bad filter can cause its own optical damage in a hard impact (the glass shatters into the front element). Neither outcome is catastrophic proof for or against.
By the numbers:
| Filter type | Price range (77mm, quality tier) | Stops of light lost | Replicable in post? |
|---|---|---|---|
| UV (quality brand) | $60–$90 | ~0 | N/A (protection only) |
| CPL | $80–$200 | 1.5–2 stops | No |
| Fixed ND (6-stop) | $90–$160 | 6 stops | No |
| Variable ND | $80–$250 | 2–8 stops (varies) | No |
If X, then UV: If you work in salt air, blowing dust, rain, or any environment where front-element contamination is a real operational risk — a quality UV filter is rational. If you shoot primarily in clean, controlled conditions and store your gear properly, it’s optional. Do not buy a cheap UV filter as a compromise; it introduces more problems than it solves.
ND Filters: The Second Purchase for Video Shooters and Long-Exposure Photographers
A neutral density filter — ND — is essentially a piece of darkened glass with no color bias. It reduces the amount of light entering the lens without changing the color temperature, allowing you to use slower shutter speeds in bright light or shoot at wider apertures than ambient exposure would otherwise permit. If you’ve seen a landscape photo where a waterfall looks silky and smooth, or a midday portrait where the background is beautifully blurred, an ND filter is likely part of the optical stack.
For video shooters, ND filters are close to non-negotiable. The “180-degree shutter rule” — a cinematographic convention that reviewers at DPReview and The Phoblographer explain thoroughly in their mirrorless video guides — means your shutter speed should be approximately double your frame rate (1/50s at 25fps, 1/100s at 50fps). In bright outdoor light, achieving that without stopping down to f/8 or f/11 — which destroys shallow depth of field — requires removing light with an ND filter. This is why you’ll see videographers and run-and-gun shooters reaching for ND filters constantly in ways that stills photographers may not.
Fixed vs. variable ND: Fixed ND filters (3-stop, 6-stop, 10-stop) maintain full optical quality and no color shift at their rated reduction. Variable ND filters let you dial between a range (typically 2–8 stops) by rotating a ring — which sounds ideal until you encounter the “X pattern” artifact that appears at maximum density settings. Aggregated owner reviews across The Phoblographer’s coverage of variable NDs show this is a consistent complaint with budget variable NDs; premium options (Breakthrough Photography X4 ND, Tiffen Variable ND) handle it better but cost $150–$250. Photography Life’s filter guides consistently recommend a set of two fixed NDs (a 3-stop and a 6-stop) as a more reliable starting point than a single variable ND for photographers who don’t need the convenience of dialing on the fly.
If X, then ND: If you shoot video outdoors, you need at least one ND before your next shoot. If you shoot stills and want to explore long exposures — moving water, light trails, intentional motion blur — a 6-stop or 10-stop fixed ND is the right tool. If you shoot stills only in controlled lighting or indoors, defer the ND purchase until you have a specific image in mind that requires it.
What to Skip (Or at Least Defer)
Star/cross-screen filters produce the starburst effect on point lights. It’s a look with a specific audience, and most photographers discover quickly that the effect reads as dated. Stopped-down apertures on lenses with an odd number of aperture blades produce a natural starburst that reviewers generally consider more organic. Skip unless you have an explicit client or creative brief calling for it.
Graduated ND filters (screw-on versions) are a legacy tool from film landscape photography — the idea being to darken a bright sky without darkening a darker foreground. Modern mirrorless dynamic range, particularly from Sony and Fujifilm sensors as noted in DPReview’s sensor performance coverage, has made this less urgent for most photographers. The problem with screw-on graduated NDs is that the transition line is fixed, which only works when your horizon is perfectly straight. Square filter systems (Lee, NiSi, Kase) allow the grad ND to slide and position precisely, which is why serious landscape shooters prefer them — but a square filter system is a $200–$600 commitment including holder and adapters. If you’re already committed to landscape photography as a primary genre, it’s worth budgeting for. If you’re still exploring, let your camera’s dynamic range and graduated filter adjustments in Lightroom carry you until you’re certain.
Color filters for digital sensors are almost entirely irrelevant unless you’re shooting monochrome intentionally (Leica M11 Monochrom users being the obvious exception) or doing specialized scientific/forensic work. Pass.
The Decision Frame
Here’s the shortest version of everything above, in decision-rule form:
- Own any camera, shoot outdoors at all? → Buy a CPL in your most-used lens’s thread diameter. Match it to your largest diameter if you have step-up rings, so one filter serves multiple lenses. Budget $80–$130 for a quality mid-tier brand.
- Shoot video outdoors, or want shallow depth of field in daylight? → Add a 6-stop fixed ND from a reputable brand. That’s your second filter purchase.
- Work in harsh or wet environments regularly? → Add a quality UV filter for front-element protection. Don’t buy a cheap one; it defeats the purpose.
- Everything else in the filter aisle? → Defer until you have a specific image or workflow problem that requires it. The filter drawer that accumulates screw-on color grads and star effects and variable NDs you bought speculatively is a very expensive way to learn that most filters solve problems you don’t actually have.
The best filter you own is the one that gives you an image you couldn’t get any other way. Start there.